Showing posts with label painting. Show all posts

27 June 2011

Oh, Happy Day! {The Living Room Before and After}

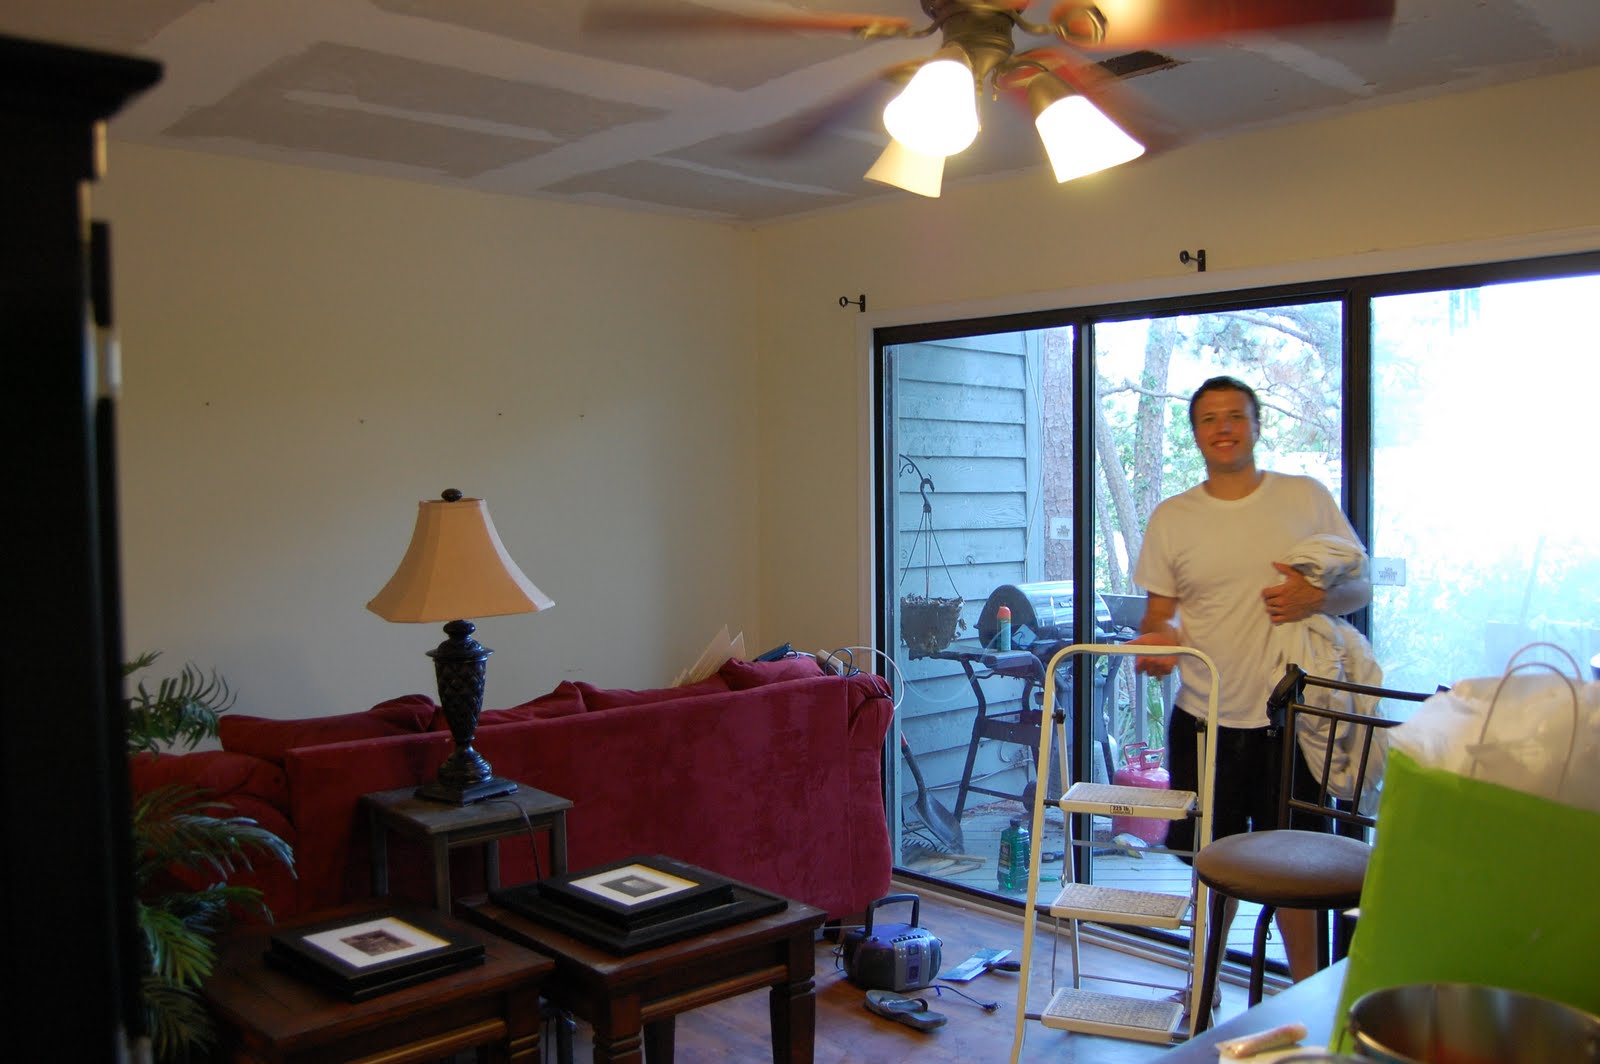
The ceilings have been scraped. They have been painted.

The walls have been repainted. The furniture has been put back in place.

And we have a new and improved den!

Before:
Notice the unfinished ceilings and the horrible yellow paint that is more suitable for a nursery than a den

AFTER!
The living room is on its way to joining the 21st century! I love the new paint color (Valspar Churchill Hotel Wheat). New lamp shades and a new rug are on their way!

25 June 2011

Ceilings: Before and After

KITCHEN
Before 
when the kitchen ceilings still had their popcorn-ness
and when the old (horribly dim) florescent light still existed in the kitchen

Kitchen
AFTER
shiny, smooth ceilings
shiny new light fixture!


I don't have a picture of the living room before, so use your imagination!!

Living Room
AFTER

I think we are ALL so glad to be done with this project--it was messy and time-consuming, but 150% worth it.

On to painting the downstairs tomorrow!!

19 June 2011

Tearing My Hair Out

We're to the point in our kitchen project where we just want to take a wrecking ball to the whole thing. Will it never be done??

The last round of ceiling sanding is going painfully slow since Landon broke his hand last week. We discovered sagging wallpaper under the kitchen paint, so that's had to come down, too. The wallpaper didn't release like it should, so we've had to sand and peel the wallpaper backing off veeeeeerrrry slooowwwly.

So, even though we've been working on this project for several days, you can't really tell that we're making that much forward movement.

Eleven days until Landon's friend's bachelor party descends on the house! EEK!

17 June 2011

Tearing up the Place

Our house has gone from bad to worse. In the process of prepping the ceiling for primer and paint, we discovered that there is (was) wallpaper under the layers of paint in our kitchen. Hideous, blue and brown striped wallpaper. Yuck!

So, in addition to sanding the ceiling last night, I also had to begin the process of ripping the painted wallpaper down so that our new paint will go on smoothly (lest we create even MORE work for ourselves). Our house honestly looks like some homeless squatters should be living it in! (Pics to come!)

And to make things even worse, Landon broke his right hand falling off of a ladder Tuesday night, so I'm the only able-bodied one for the time being. What ELSE could happen???

I just want to finish all of the painting by the time Landon has some friends down in July for a bachelor party (not his own, but a friend of ours). If we're done painting, I can at least put the furniture back in place before they get here.

13 June 2011

Darn you, popcorn ceilings

Our house looks like a construction zone.

We're not constructing something--we're destructing. The popcorn ceiling, that is.

Our house, which was built in the mid-80s, has the knobbly popcorn ceiling that was all the rage at that time. Landon and I can't stand it.

We've been planning on a kitchen remodel, but our kitchen remodel budget isn't quite there just yet, so we decided to take on some more budget-friendly jobs while we're waiting to do the kitchen. The popcorn removal is just the first in a series of wall/ceiling tasks we plan on taking on over the next few months which will include: sanding and painting the ceiling white, repainting the entire downstairs (kitchen, living room and stairway) a darker khaki to replace the pale yellow that is currently there, repainting the trim and putting up crown moulding in the living room and kitchen.

Hopefully, once we're done with these jobs, it will be time for the kitchen...our downstairs may be looking like a construction zone for quite some time!

22 March 2011

Our First Major Project!

 Landon and I decided to take a "staycation" this past weekend to spend some time around the house, working and hanging out with our new puppy!

Our goal: refinish the downstairs half bath in order to bring it into the 21st century.

As with all projects, this was easier said than done. We set our budget, headed to Lowe's (as always) and got everything on our list. We found this amazing vanity and etagere, both on clearance...which we got further reduced just by asking a friendly Lowe's employee how much he wanted to get rid of them. :) They were both still in boxes and completely undamaged. Yay for bargains! We also decided on a light gray paint to go with the black and white vanity and etagere: the finished project will be black, white and gray with punches of bright red.

The old bathroom--note the hideous '80s built-in vanity, the cabinet doors that refuse to close and the non-matching sink and toilet. Sweet.

We ripped out the existing built-in (demolition is SO FUN!) and tore up the subflooring. Then, we replaced the backerboard in the floor and re-tiled the floor where we'd torn it up since the new vanity is smaller than the older one. Landon was really excited about the tile-laying since he's been wanting to try tiling since we moved into the house. We were both really happy that he did such a great job on his first go-round.
New backerboard!
After sanding down the walls, I started to edge the walls in our new gray paint. I'd made it almost all the way around the room when Landon noticed that part of the wall was curling up. Thinking it was just a part of the sheetrock doing something weird, Landon pulled it...and it kept coming. Yikes. We discovered quite quickly that what we THOUGHT was sheetrock was actually painted wallpaper, which was finally peeling up. Ugh. So, instead of painting, we commenced to peeling off the wallpaper (which is oddly satisfying) for two hours.
Darn you, wallpaper.
After getting rid of the surprise wallpaper, we made sure all of the excess wallpaper glue was off of the wall and spackled the few holes that had been gouged as a result of our occasionally overzealous wallpaper removal.While Landon made sure the spackling was drying appropriately, I put the etagere together, a process that was incredibly easy (thank you Phillips head screwdriver!).

Then (and only then), we got BACK to painting. This time, I made it all the way around four times (two coats of primer and two coats of paint) without any other major surprises.
Call me a home improvement dork, but I LOVE a paint roller!
And what does 2 gallons of paint, one vanity, one etagere, two paint rollers, two paint brushes and 60 hours of work get you?

One new, 21st-century powder room!


One of my most prized souvenirs from when I lived in London. This is a legit street sign, I promise!
Taking all of those million photos finally came in handy!
Grey squares--love.
Check out that new sink, new faucet and new soap pump!